
To mark the launch of our upcoming To Dye FORE release, welcome to, To Dye FORE; FORE’s guide on how to level up your old garms and create some truly bespoke pieces. Tired of looking at your old, plain clothes in your wardrobe? We hear you, and we've got a solution that's sure to bring new life to those dull garments - tie-dying. It's a fun, creative and affordable way to add a burst of colour to your wardrobe, and today we're going to show you how to do it yourself. So, let's get into it with our guide, "To Dye FORE"!

First things first, let's gather up our materials. You're going to need a white or light-coloured cotton garment, such as a t-shirt, dress, or hoodie. You'll also need a tie-dye kit, which you can find online or at a local arts and crafts shop. Make sure you have rubber bands, plastic gloves, plastic bags or plastic wrap, a bucket or large bowl, and water handy.
Now that we have everything we need, let's dive into the steps. Before starting, make sure your garment is clean and dry. If it's new, give it a wash to remove any sizing or chemicals. Ideally, you’re using your old garms (let’s be sustainable about it!). If it is old, wash it to remove any dirt or stains. Once it's completely dry, it's time to get your workspace set up. Cover your area with plastic or newspaper to prevent dye spills, and make sure you're wearing old clothes or an apron to protect yourself.
Next up, let's mix the dye. Follow the instructions on your tie-dye kit to create the dye solution. You'll need to add water to the dye powder or liquid to create the solution. Stir it well until the dye is fully dissolved.
Now, this is really the best part - creating your design. There are so many techniques to choose from, but we'll cover a few of the most popular ones.
- The crumple technique involves crumpling your garment into a ball and securing it with rubber bands randomly. Apply the dye to the bunched-up garment using a squeeze bottle or syringe, making sure to saturate all areas.

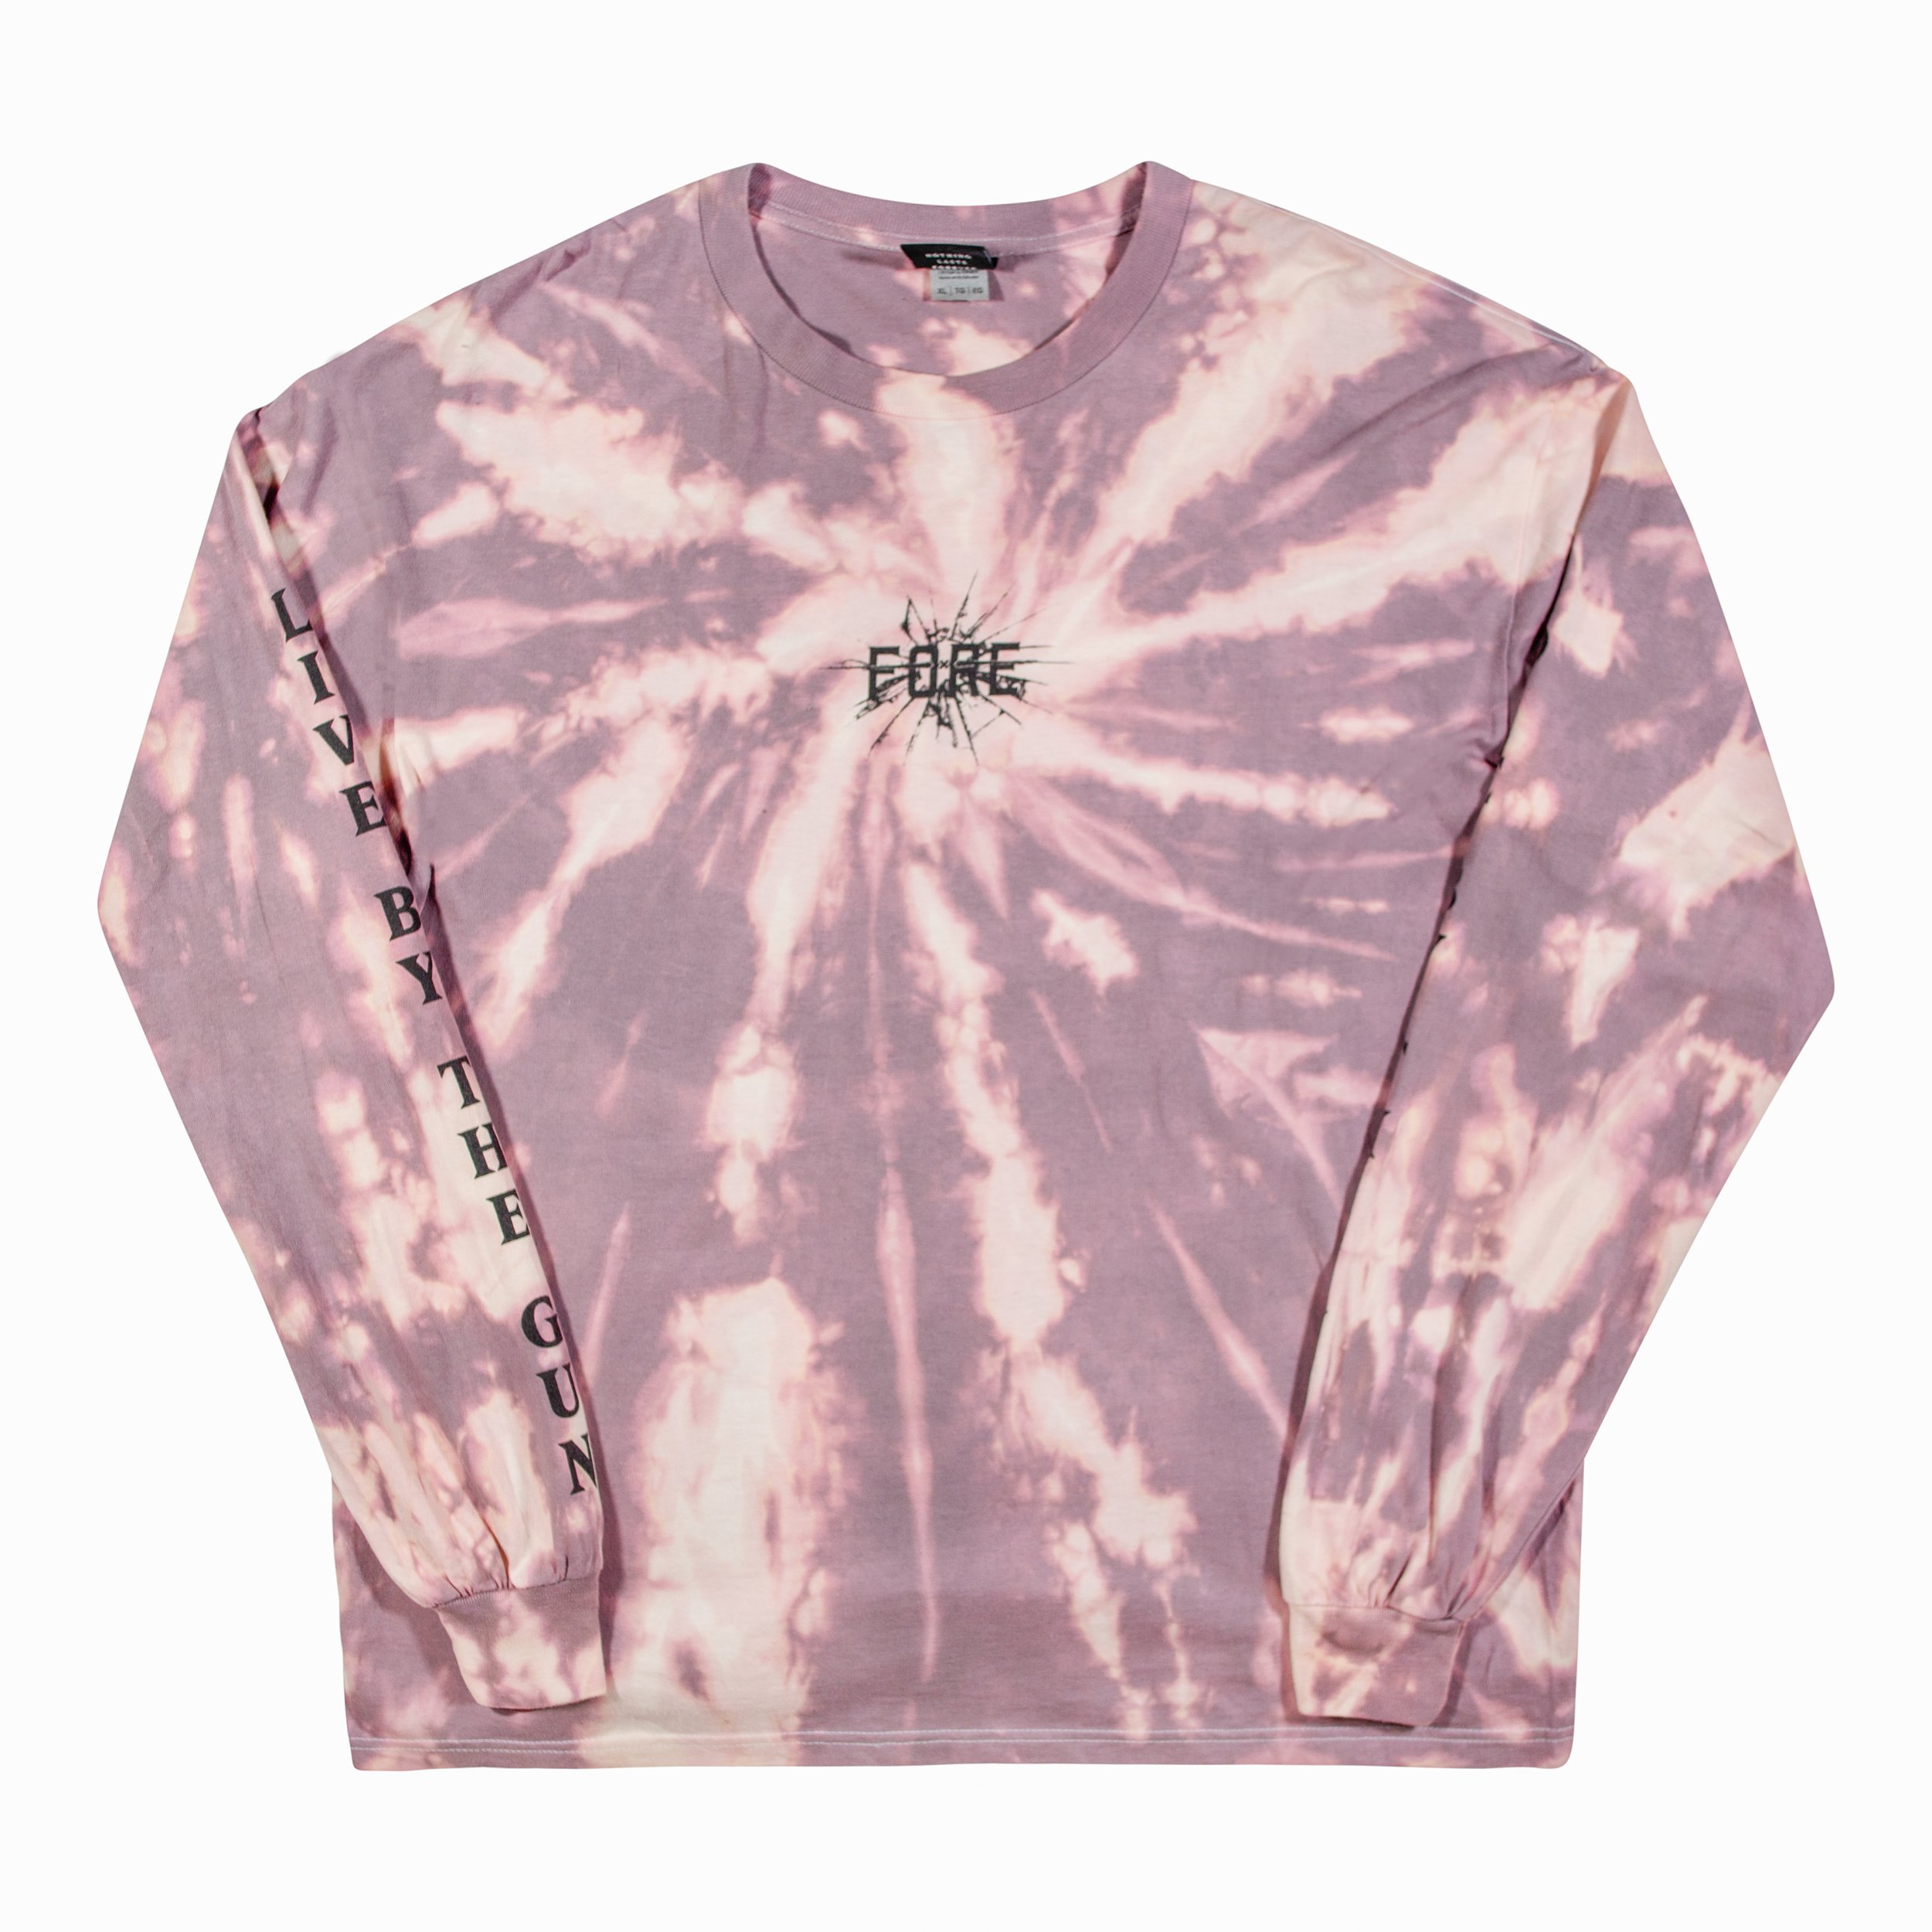
- For the spiral technique, pinch a small area of the garment and twist it into a spiral. Twist and add rubber bands until the garment is divided into pie slices. Apply the dye to each slice with a squeeze bottle or syringe, making sure to saturate all areas.
- Lastly, the stripes technique! You’re going to want to fold the garment in an accordion style, creating straight lines. Secure the folded garment with rubber bands horizontally, vertically, or diagonally, however you want - it’s your design. Apply the dye to the garment, alternating colours to create stripes.

Don't be afraid to experiment with different techniques and colour combinations to create a unique design that truly speaks to your personal style. Once you've created your design, it's time to apply the dye. Put on your plastic gloves to protect your hands from the dye and dip the garment into the solution, making sure to saturate all areas. You can use multiple colours and patterns to create a truly unique look.
Once you've applied the dye, put the garment in a plastic bag or wrap it in cling film to keep it damp. Let it sit for 6-8 hours or overnight to allow the dye to set. After the dye has set, rinse the garment under cold water until the water runs clear. Remove the rubber bands and rinse again. Finally, wash the garment separately in cold water using a mild detergent to remove any excess dye.
Now that your garment is clean, hang it up to dry or tumble dry on a low setting. Hang drying is recommended.
Big ups, you've successfully tie-dyed your old garms into something completely new and bespoke!
Are we not done? Okay. Let's talk about some ways to take your tie-dye game to the next level. Embellishments like sequins, patches, or studs can add some extra personality to your design. You can also try experimenting with different colour combinations to create an ombre effect or add some dimension by layering different dye techniques.
Remember - tie-dye isn't just limited to clothes - you can also tie-dye accessories like bandanas, socks, or even canvas shoes. And if you're feeling extra, try tie-dyeing fabric to make your own unique tapestries or pillow covers.
Tie-dyeing is just about getting creative, messy and having fun with fashion, so don't be afraid to get your hands dirty and let your creativity flow. And if you're looking for some inspiration or guidance, here are some of our favourites from tie-dye enthusiasts and artists we’ve found.


Go ahead and give it a try, and be sure to tag @fore.uk over on IG so we can see your looks!
‘Til next time, FORE x
Leave a comment